Mon to Sat: 09:00 am to 06:00 pm

Mon to Sat: 09:00 am to 06:00 pm
At a Glance
What You Need Before You Start
Step 1: Conduct a Boundary and Topographic Survey
A licensed surveyor
confirms your legal property lines, easements, and elevation changes across the
site. This step prevents boundary disputes and gives your engineers accurate
data for grading plans.
Order the survey before any
equipment arrives. Overlapping a neighbour's property, even by a few feet, can
halt work and trigger legal costs that dwarf the survey fee.
Step 2: Clear Vegetation and Existing Structures
- Remove trees, brush, and
any structures marked for demolition on your site plan. Clearing crews should
separate reusable materials (topsoil, timber) from debris headed to disposal.
- Check local ordinances
first. Many municipalities require tree removal permits or -protected-species
reviews before clearing, particularly near wetlands or mature trees over a
certain diameter.
Step 3: Run Geotechnical Soil Testing
A geotechnical engineer
drills soil borings to determine load-bearing capacity, water table depth, and
soil composition. This data drives your foundation design - skipping it means
guessing at footing sizes.
Poor soil (high clay
content, unstable fill, or a shallow water table) may require piers, deeper
footings, or soil replacement. Catching this now costs far less than
redesigning after excavation starts.
Step 4: Mark and Confirm Underground Utilities
Contact your local utility
locate service to have gas, water, electric, and communication lines marked
on-site. Wait for confirmation before any digging - hitting a gas line or fibre
trunk can shut down the job and create serious safety risks.
Cross-check the marked
lines against your site plan. Older properties sometimes have undocumented
lines that the locate service misses, so a private utility scan is worth the
added cost on renovation or infill sites.
Step 5: Grade and Compact the Site
Grading crews cut and fill
the land to the elevations specified in your site plan, directing water flow
away from planned building footprints. Compaction testing follows to confirm
the soil meets the density specs your structural engineer requires (typically
90-95% Proctor density for building pads).
Skipping compaction testing
is a common shortcut that shows up later as foundation cracking or settling.
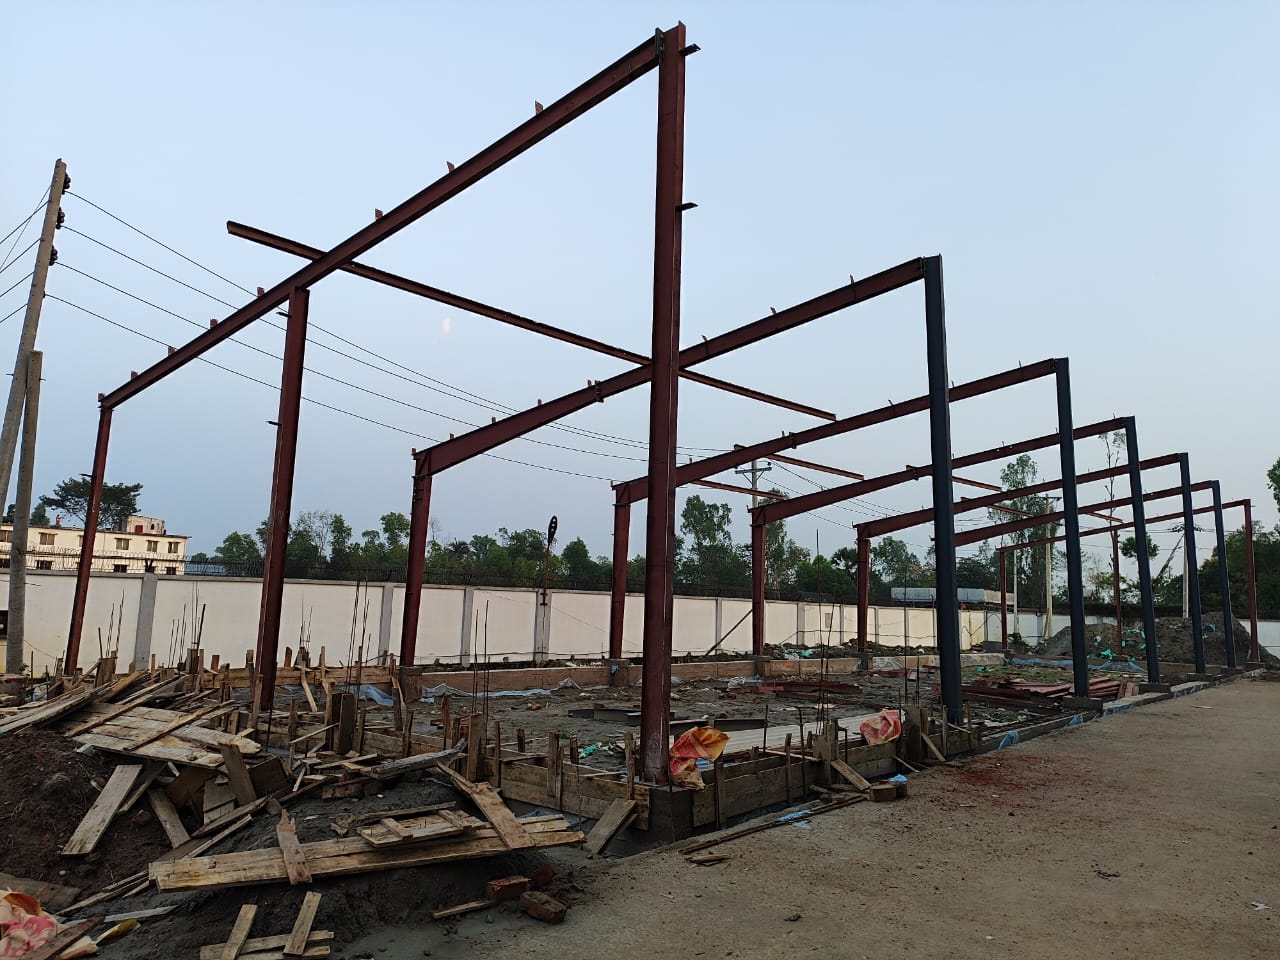
Contractors who work regularly in RCC and steel structure builds, such as Mahir Construction in Dhaka, treat this step
as non-negotiable before any concrete pour, since correcting a bad compaction
job after the foundation is poured costs far more than testing upfront.
Step 6: Install Erosion and Sediment Controls
Silt fences, sediment
basins, and inlet protection keep runoff from washing soil into storm drains or
neighbouring properties. Most jurisdictions require an approved erosion control
plan before grading permits are issued.
Inspect these controls
weekly and after every significant rain event. Fines for uncontrolled runoff
can run into the thousands of dollars per violation, depending on the
jurisdiction.
Step 7: Set Up Site Access, Staging, and Temporary Facilities
Establish a stabilised
construction entrance (typically gravel) to keep mud off public roads, along
with material laydown areas, equipment parking, and temporary power or water
hook-ups.
Plan traffic flow before
crews arrive on day one. A site where delivery trucks and heavy equipment cross
paths constantly loses hours daily to inefficient sequencing.
Common Problems and How to Fix Them
|
Problem |
Likely
Cause |
Solution |
|
Standing water on graded
areas |
Incorrect slope or
drainage plan |
Regrade to a minimum 2%
slope away from building pads |
|
Foundation cracks after
pour |
Inadequate soil
compaction |
Halt pour, retest
compaction, re-compact to spec before continuing |
|
Utility strike during
excavation |
Locate marks missed or
outdated |
Stop work immediately,
call the locate service again, get a private scan before resuming |
|
Erosion violation notice |
Silt fence failure or
missing inlet protection |
Repair controls same day,
document with photos, notify the inspector |
|
Permit delay past
ground-breaking date |
Incomplete application or
missing geotechnical report |
Submit all required
reports upfront; track jurisdiction review times before scheduling |
Frequently Asked Questions
1. How long does construction site preparation take?
For a mid-size commercial
or residential project, site prep typically takes 3-6 weeks, depending on
clearing complexity, soil conditions, and permit turnaround. Sites needing
extensive demolition or soil remediation can take longer.
2. Can I start excavation before utility locates are confirmed?
No. Digging before utility
confirmation is illegal in most jurisdictions and risks hitting gas, electric,
or communication lines. Wait for written or marked confirmation from your locate
service before any excavation.
3. What happens if the geotechnical survey finds poor soil?
Your structural engineer
will likely revise the foundation design - options include deeper footings,
soil replacement, or pier foundations. This adds cost and time upfront but
prevents far more expensive failures after construction.
4. Do I need a permit just to clear land?
In many jurisdictions, yes,
especially if the site includes protected trees, wetlands, or slopes above a
certain grade. Check with your local planning department before clearing
begins.
5. How much should I budget for site preparation?
Plan for 8-15% of total
project cost, with the higher end reserved for sites needing significant
grading, demolition, or soil correction. Get itemized bids from your civil
contractor early to refine this estimate.


0 comments